
1. Use strips of material instead of ribbon madeof plastic. See...

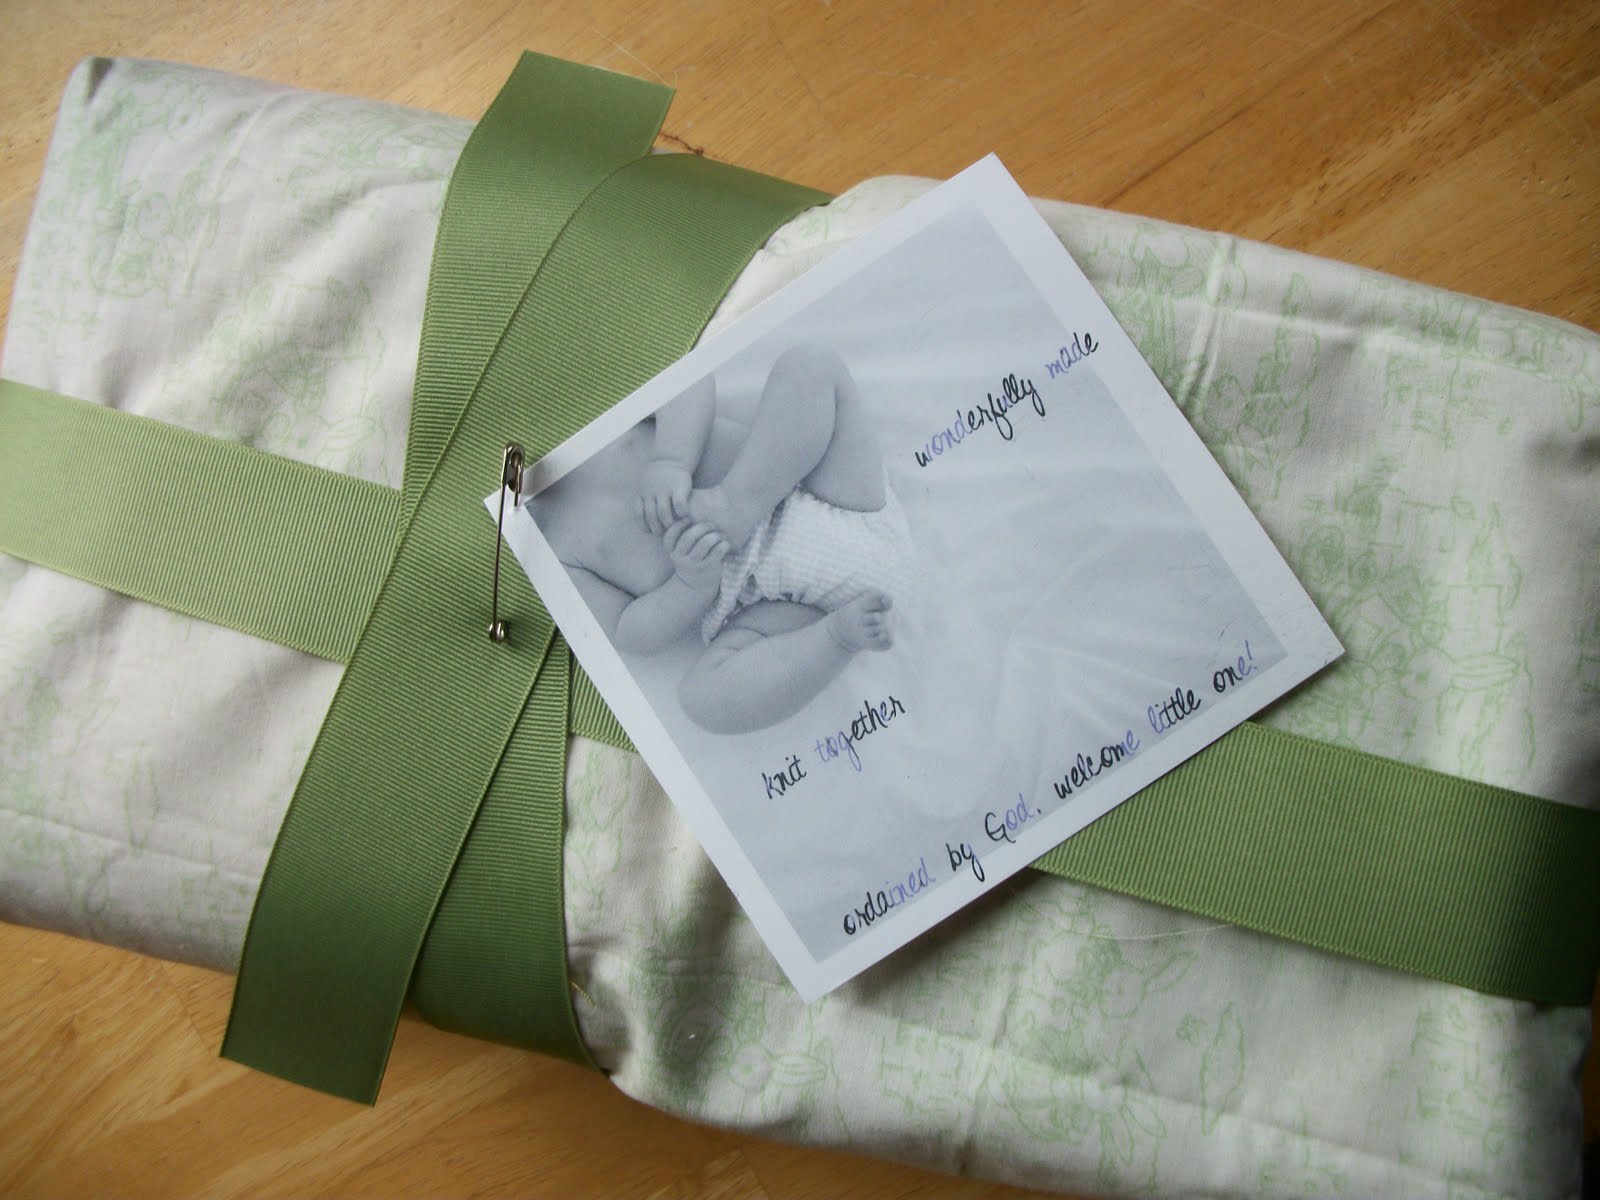
2. Use fabric to wrap your gifts instead of paper - especially good for your family members and friends who like to sew :). Here's a baby gift I wrapped in material and finished off with coordinating grosgrain ribbon:
3. Instead of paper/plasticky gift bags,use cloth bags. Here's one I put together (see this post for details)

And here's a lovely one my mom gave us:

4. Since pennants are a big thing lately, I came up with an idea for a birthday pennant and a way to upcycle your birthday cards. Usually, I end up recycling the cards because I have a daymare (grin) of drowning in paper and visions of our children going through all our stuff when we're gone and exclaiming over the mountains of cards we collected over the years. Anyway...I may need to amend my paper-tossing habits because God was gracious enough to give me this fun idea for hanging onto a bit of nostalgia. Thus, a tutorial for:

Step 2: Make your template. Tear the card in half along the crease mark. Like this:

Then, using the back half of the card (the one with the main message), fold it in half. Like this:

Next, using a ruler, draw a diagonal line from one corner to the other. Like this:


Cut along the diagonal, unfold, and...voila! your template.


Step 4: String your pennant pieces together. Punch two holes at the top and thread string, ribbon or raffia through the holes. Holes small in diameter are better than larger ones unless you are using a thick material to string the pennants - you want to be able to slide the pennants along and adjust their position easily.

Step 5: Hang up on the day of the celebration and enjoy. Tuck away for the next birthday and add to it as you collect more cards. If you have more than one child, you may want to create a banner for each. Or mix them up and pull out the banner for every special occasion (in which case cards for other occasions may be used).

Funny behind-the-tutorial-scenes story: Apparently, I was very thorough in purging our birthday card collection from years past because I couldn't find any to use for this tutorial. However, I did have the entire cache of cards from our wedding and wedding showers, in case you noticed the wedding theme to the cards I used in the pictures. :)
I also admit to using the plasticky ribbon stuff to string these together - something I already had on hand. So if you still have this stuff in your stash, consider using it for this craft since it's meant to be something to hang onto for a number of years versus being bound for the trash heap after the gift opening is over.
No comments:
Post a Comment