Showing posts with label tutorials. Show all posts

Tuesday, January 24, 2012

crafting love: Valentine's Day idea #1

I originally posted about this idea last year, but am refreshing it for Valentine's Day. (I need to give credit to Tee from Sustainablog for reminding me of this tutorial and suggesting it be used for Valentine's Day - thanks Tee!). I've created a link at the top of the blog for the Valentine's Day ideas I'll be sharing over the next couple of week. Or you can access it, by clicking here.


Because I'm usually opt to toss rather than keep for nostalgia's sake, I have very few cards on hand, except a large stack from our wedding which I dug into for this tutorial. Which come to think of it, does go with the love theme. ;) But I much prefer to re-purpose items where possible, which makes this idea perfect for a heavy card-giving occasion. (If you're a tosser like me, this idea may need to wait until this Valentine's Day is over...then you'll be one step ahead for next February 14th.)

Step 1: Collect Valentine's/love theme-cards and select one of them to use as a template. You may want to use a smaller rectangle - choosing a larger one may mean your template won't fit on the smaller cards. Unless you want to create several different sizes of triangles.

Step 2: Make your template. Tear the card in half along the crease mark. Like this:

Then, using the back half of the card (the one with the main message), fold it in half. Like this:

Next, using a ruler, draw a diagonal line from one corner to the other. Like this:

Cut along the diagonal, unfold, and...voila! your template.

Step 3: Cut out your pennant pieces. Using your template trace around the colorful front of the card and cut out. At this point, you may want to write on the back who the card was from, who the card was for, and the year. Also, you may want to play with the order of the pieces to get a pleasing pattern.

Step 4: String your pennant pieces together. Punch two holes at the top and thread string, ribbon or raffia through the holes. Holes small in diameter are better than larger ones unless you are using a thick material to string the pennants - you want to be able to slide the pennants along and adjust their position easily.

Step 5: Hang up on the day of the celebration and enjoy. Tuck away for the next Valentine's Day and add to it as you collect more cards.

Wednesday, October 19, 2011

ten years & a banner of love

Tomorrow marks 10 years that Dave and I have been married. How time has flown and yet it seems like it should be longer than only 10 years. Perhaps it has something to do with having four children in eight of those years...;)

*******
In honor of this decade milestone and the fact that I finally hung up this:
above our bed (it only took me seven months!), I have a printable and tutorial to share.

I came up with this idea after seeing the simple and beautiful creations of this artist on etsy. Since I worked on this back in February, I went with a heart and love theme and based it on the passage in 1 Corinthians 13 which describes the attributes of love using the NIV version of the Bible. (My aunt - and godmother - read it on our wedding day.)

To make your own "Banner of Love," follow these instructions:

1. To get the template and save you time, go to my page on scribd. However, if you wanted to use a different version of the Bible or change the font, it's easy enough to create your own version using Word. If you need help with this, just send me an email.

2. Print out the pages and cut out the hearts.

3. Using a hole punch, punch out two holes in the top of each heart.

4. Now string the hearts into a garland (just make sure you're doing them in the same order as the passage ;) ). I used raffia but you can use any type of material to string them. I had to use several raffia pieces - I just knotted them together and made sure the knot was behind a heart.

5. Find a place to string them where you'd like a reminder of love. I liked the simplicity of hanging them above our bed - a reminder that God's banner over us is love.

linking with:


*******

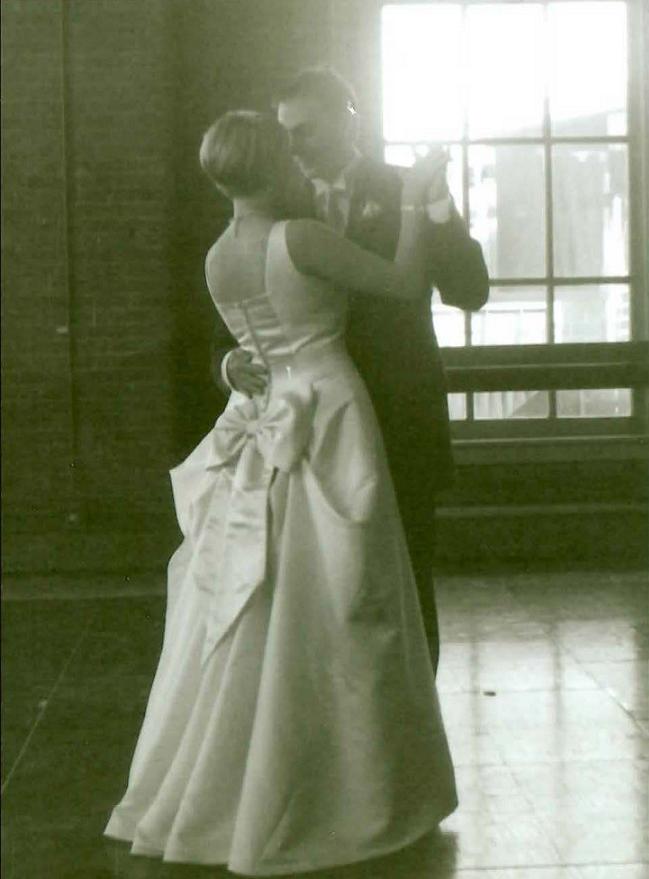
Wedding memory: My grandpa (the only one I knew as a child) had died in January of 2001. As a way to remember him and honor the long years of marriage celebrated by my grandparents, I wanted to have a bagpiper lead Dave and I down the aisle at the conclusion of the ceremony. My grandparents had done a similar thing when they got married in England during WWII while my grandpa was serving overseas. Bagpipers and wedding days are synonymous in my mind as a piper is prominently featured in one of their wedding pictures.

Somehow, there was a confusion in communication and we ended up having two pipers show up! And then, in all the wedding excitement, Dave forgot we were even having a piper at all and was rather startled when one began playing right behind us near the altar. I'm not sure being scared out of your wits is a great way to begin a marriage, but Dave has recovered nicely. :)

Saturday, August 27, 2011

homeschooling and a how to

This week in homeschooling we got back into the swing of things...


After completely stressing about every detail of school last year and burning myself out by the end, this year, I'm leaning on the Lord to help me ease into things and enjoy the teaching moments He brings before us...like having Dave encourage the Brianna and Reese to do book reports and he even put together the book report form. I decided we needed a place to house these reports-to-be, which leads me to the "how to":

Creating Book Report Folders

What you'll need:


What to do:
Choose a picture of your child or an image of their choosing, then go picniking (in case you haven't encountered it before, picnik is a great photo editing site and is free, though it also has a monthly fee if you want premium features). Here are my originals:

Make any edits to your photo as needed (such as cropping or adjusting the light). Then click on the "create" tab. Pick the "effects" button and scroll down until you see the "pencil sketch" feature (it's part of the free package) and select the button. Adjust the radius and strength slide to get the best "like a coloring book" look to your picture - I found moving the radius slide to "5" worked best. Hit the "apply" button.

Next, select the "text" tab and add in your text. If you buy the premium feature, you'll have more fonts to choose from - I used the handwriting-type fonts available in the free version. The text always appears in white at first, so you'll need to adjust the color in the text properties pop-up box. (To create the strikethrough for Reese's picture, I went to the sticker tab, choose the geometric shapes button, selected the rectangle and adjusted it to create a thin black line.)

Save the photo (click the "save and share tab"). Before I printed, I inserted the photos into Publisher (you could use Word, too, or other similar programs) so I could adjust the final print size - if you print directly as a photo, you may be limited in your size selection, but check your photo print options on your computer).

Here are the final products:


I had Brianna and Reese color their pictures, then I pasted them to the front of their folders (I chose to do all the cutting and pasting, but this is something the kids could easily have done).

Since Dave wanted the kids to see where the books are published, I found some maps (world map here, US map here) and printed, cut out and pasted them to the backs of the folders.


We decided we'd like to reward Brie and Reese for the reading and reporting. So I created a book meter with starfish on every nine spaces (there are 36 spaces - one for every week in the typical school year). Each time they get to a starfish space, we will take them to Half-Price Books to buy something for their personal library.

Finally, we used the pockets inside the folder to store blank report forms so they're handy for the kids.

And that's it! My favorite part about this project is that Dave initiated it and got it underway - it's always lovely to be supported  :)

Friday, August 5, 2011

birthday beach fun (and a beach shade idea)

Four pieces of bamboo + many grains of sand + four rubber bands + one sheet =


one super sunshade (it looks a little lopsided because the wind was blowing and the sticks in back are shorter to create a lean-to-like shade).
 
For Dave's birthday today, we headed to the beach. The last time I took the kids there, I forgot about the importance of readily available shade (it had been a long time since we'd been there during the heat of the day).

I could have simply gone out and bought a beach umbrella, but since we're trying to save a few pennies, I scouted around the house for shade-making materials. Since not everyone has bamboo growing in their backyard :), curtain rods, broom handles or anything else that is straight and can be stuck in the sand would work. The rubber bands I used were the super thick kind that can be found on grocery-store lettuce.

And when we weren't taking a break in the shade...

Reese was building castles.

 Ben was sticking his head in the sand (now there's a cliche!)...
  ...and crawling in the water post-sand bath...
  ...and riding on daddy's shoulders...
 
 ...and getting tossed into the water.

 Luke was trying his skills as a fisherman,

 and Brie and I were in and out of the water, enjoying the beautiful day and soaking up this gift of a summer's day.

Thank You, Lord, for today.

Friday, July 1, 2011

tutorial: spirit of independence pinwheel headband

Nothing says summer, Independence Day and carefree days of childhood like a pinwheel. To celebrate these all-too-fleeting events, I decided to create a pinwheel headband (which also will come in handy when we march in our hometown parade on Monday). First, I checked out this tutorial on how to make a standard pinwheel and then used these steps with fabric.

Here's how it's done:
Choose the fabrics for your pinwheels. You could use the same material for the front and back, or, to mix it up, choose two coordinating fabrics. Cut your material into squares. I used two sizes for this headband: 5" (next time, I would reduce this size to 4") and 2.25".

Next, you need some fusible web (I use heat 'n bond). Cut one piece of web per pair of fabrics.

For each pair of square, iron your fusible web onto the wrong side of the material of one of the fabrics. Peel off the paper and then "sandwich" your squares, wrong sides together and iron. The end result should be a double-sided square of fabric.

 If you like, take some pinking shears and pink along the perimeter of your fabric squares.

Now, using a fabric pen or pencil, divide each square into four equal quadrants.Use a pen or pencil that won't show obvious marks or you may need to spend some time cleaning up your marks.

Next, draw a diagonal line from the corner to the center point in each quadrant.


Cut along the diagonal lines, but do not cut all the way to the center point (end your cut about .25" to .5" away from the center point)

Pull the alternating corners of the pinwheel to the center and secure with a couple of stitches.

 Select a button or a bead to dress up the center of the pinwheel and stitch in place.

 Here are a few ways I played with the placement of the pinwheels:


Secure to your headband with several stitches. (I attached mine to a headband we already had on hand, but it would be simple enough to create a band with a rectangle of fabric and some elastic.) If the entire circumference of your headband is elastic like the pre-purchased on I used, you will want to place your pinwheels close together with a slight overlap. If the base of your headband in elastic only at the bottom, you can place your pinwheels a little further apart.

Other ideas:
  • Double up your pinwheels, place a smaller one on top of the larger one. 
  • Attach the fabric pinwheels to a wreath or string together in a garland
  • Secure to a safety pin for a fun brooch.

Monday, June 6, 2011

giveaway green tips: birthday edition (including a tutorial!)

Since today is Ben's birthday, I thought it was only fitting to do birthday-related green tips (you have two more days to enter the giveaway). So without further ado, here they are:

1. Use strips of material instead of ribbon madeof plastic. See...

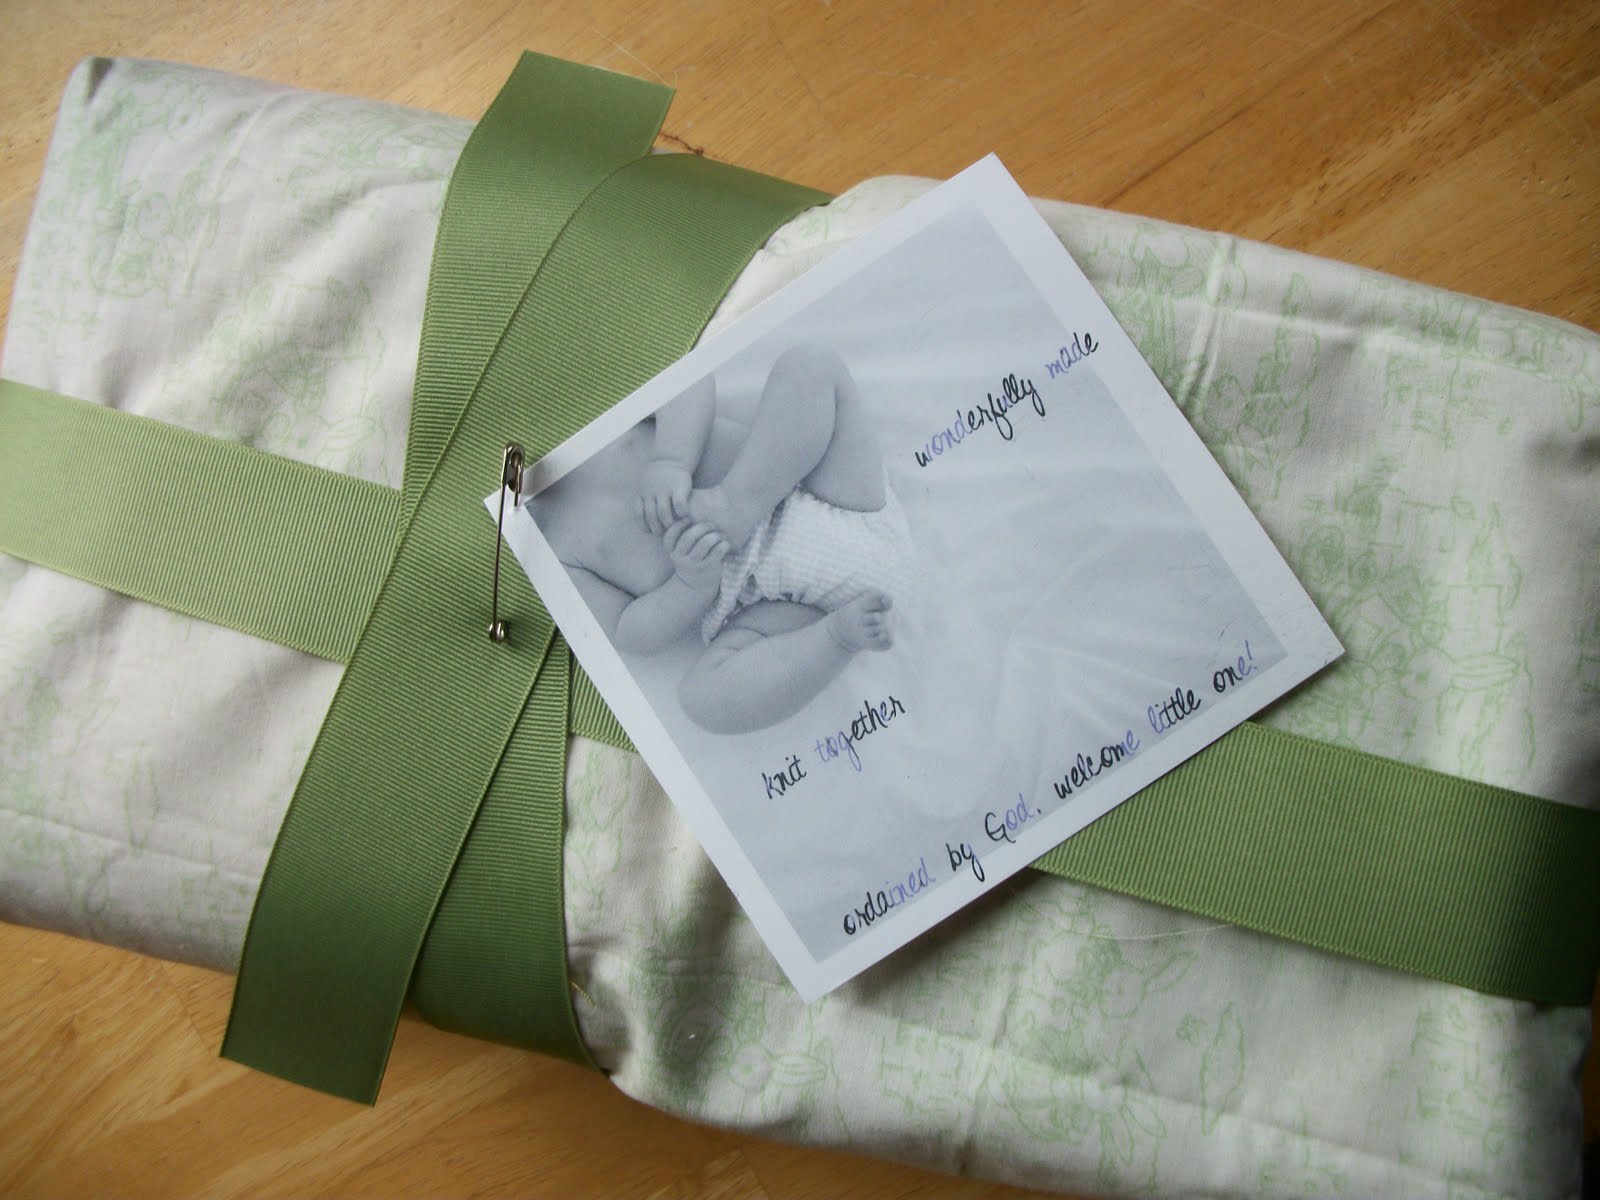
2. Use fabric to wrap your gifts instead of paper - especially good for your family members and friends who like to sew :). Here's a baby gift I wrapped in material and finished off with coordinating grosgrain ribbon:


3. Instead of paper/plasticky gift bags,use cloth bags. Here's one I put together (see this post for details)


And here's a lovely one my mom gave us:

4. Since pennants are a big thing lately, I came up with an idea for a birthday pennant and a way to upcycle your birthday cards. Usually, I end up recycling the cards because I have a daymare (grin) of drowning in paper and visions of our children going through all our stuff when we're gone and exclaiming over the mountains of cards we collected over the years. Anyway...I may need to amend my paper-tossing habits because God was gracious enough to give me this fun idea for hanging onto a bit of nostalgia. Thus, a tutorial for:

Step 1: Collect the cards and select one of them to use as a template. You may want to use a smaller rectangle - choosing a larger one may mean your template won't fit on the smaller cards. Unless you want to create several different sizes of triangles.

Step 2: Make your template. Tear the card in half along the crease mark. Like this:

Then, using the back half of the card (the one with the main message), fold it in half. Like this:

Next, using a ruler, draw a diagonal line from one corner to the other. Like this:

Cut along the diagonal, unfold, and...voila! your template.

Step 3: Cut out your pennant pieces. Using your template trace around the colorful front of the card and cut out. At this point, you may want to write on the back who the card was from, who the card was for, and the year. Also, you may want to play with the order of the pieces to get a pleasing pattern.

Step 4: String your pennant pieces together. Punch two holes at the top and thread string, ribbon or raffia through the holes. Holes small in diameter are better than larger ones unless you are using a thick material to string the pennants - you want to be able to slide the pennants along and adjust their position easily.

Step 5: Hang up on the day of the celebration and enjoy. Tuck away for the next birthday and add to it as you collect more cards. If you have more than one child, you may want to create a banner for each. Or mix them up and pull out the banner for every special occasion (in which case cards for other occasions may be used).

Funny behind-the-tutorial-scenes story: Apparently, I was very thorough in purging our birthday card collection from years past because I couldn't find any to use for this tutorial. However, I did have the entire cache of cards from our wedding and wedding showers, in case you noticed the wedding theme to the cards I used in the pictures. :)

I also admit to using the plasticky ribbon stuff to string these together - something I already had on hand. So if you still have this stuff in your stash, consider using it for this craft since it's meant to be something to hang onto for a number of years versus being bound for the trash heap after the gift opening is over.